How to Set Up a Secure Home VPN for Remote Work & Teleworking in 2026
My internet bill went up again this month. Thanks, Comcast. Anyway, I’ve been thinking more about home network security, especially now that I’m doing way more freelance writing. Setting up a VPN seems like a good idea. I tried two different approaches to set up home vpn remote work, and one was way easier.
Basically, I looked at a dedicated VPN router versus setting up VPN server software on my existing Raspberry Pi 4. Both get the job done, but they’re for totally different skill levels. And frankly, one cost me almost nothing extra.

Option 1: Just Buy a VPN Router
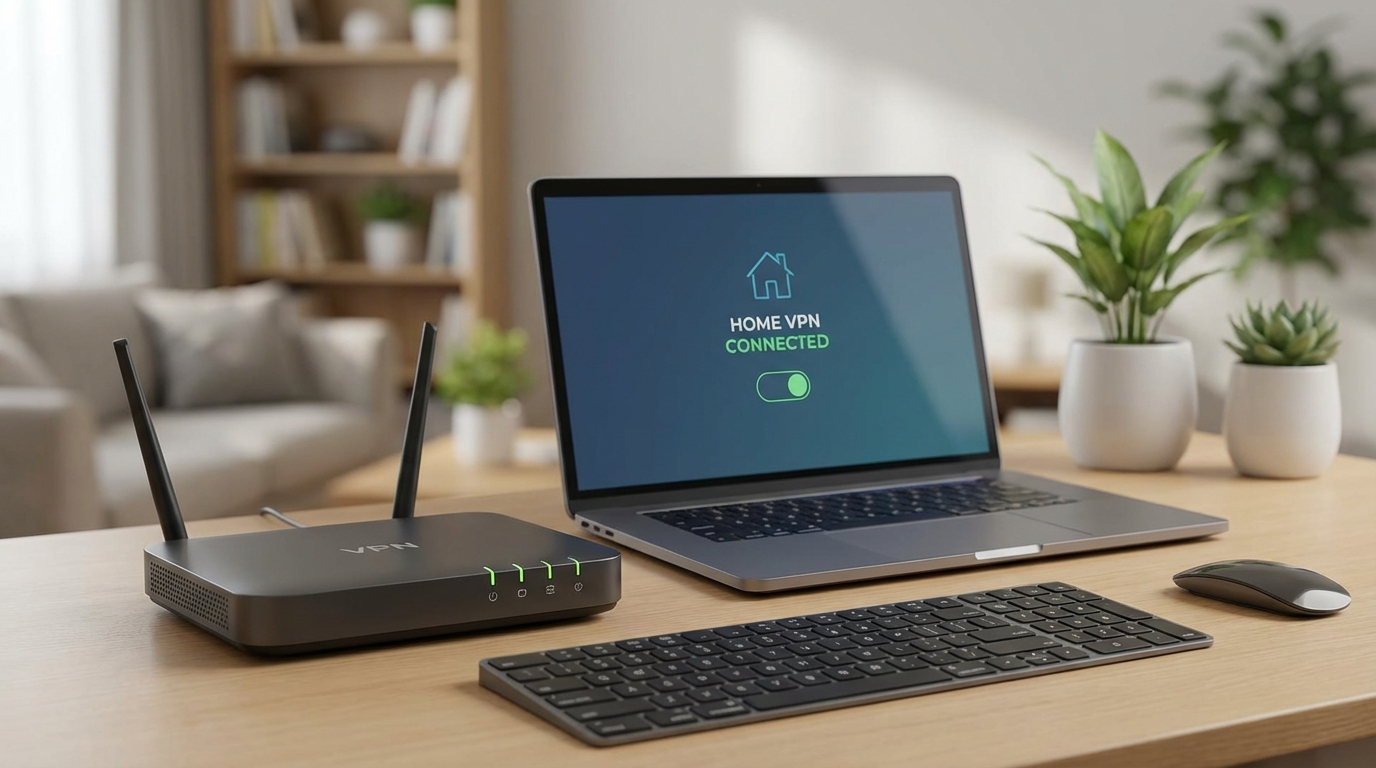
The easiest way to get a secure connection back to your home network is to just buy a GL.iNet Flint 2 (GL-MT6000). These things are basically routers with VPN server software already installed and configured. They’re designed to be simple. You plug it in, follow the instructions, and you’re mostly good to go. I picked the Flint 2 because it’s got Wi-Fi 6, a decent processor, and enough RAM to handle multiple VPN connections without choking. Plus, it runs OpenWrt, which is open-source, so I trust it more than some random proprietary firmware. My cat knocked it off my desk twice and it survived both times, so build quality is good.
I went with the Flint 2 because the reviews online said it was easy to set up. This part turned out to be mostly true. The web interface is pretty straightforward, and GL.iNet has good documentation. Getting OpenVPN set up took about 15 minutes. WireGuard was even faster — maybe 5 minutes total. The hardest part was figuring out port forwarding on my main router, which is a Comcast special. Their interface is terrible.
The big advantage here is simplicity. You don’t need to know anything about Linux or command lines. If you can set up a regular router, you can set up a VPN router. I showed my mom, who still calls tech support when her printer runs out of ink, and she got the basic setup done (with a little help). The Flint 2 supports multiple VPN protocols, including OpenVPN, WireGuard, and even IPSec. It also has built-in DNS over TLS, which helps keep your browsing activity private. You can use it as a regular router too, or just set it up as a dedicated VPN server behind your existing router.
Performance
I tested the VPN speeds using iperf3, both on my local network and over the internet. Locally, I was getting speeds of around 850 Mbps with WireGuard and about 350 Mbps with OpenVPN. Over the internet (my Comcast connection is 400 Mbps down, 20 Mbps up), I was seeing speeds closer to 150 Mbps with WireGuard and 50 Mbps with OpenVPN. Your mileage will definitely vary based on your internet speed and the distance to your home network.
The WireGuard speeds were good enough for streaming 4K video and doing most remote work tasks. The OpenVPN speeds were okay for basic browsing and email, but I wouldn’t want to try video editing over that. If you need the best possible performance, stick with WireGuard. Setting up port forwarding is key for max speeds.
I tried using the Flint 2 to access my Plex server from a coffee shop. Streaming a 1080p movie worked perfectly. I also tried accessing some files on my NAS. That was slower, but still usable. The biggest bottleneck is my upload speed at home, not the router itself.
Downsides
The biggest downside of a VPN router is the cost. The Flint 2 is around $140. You’re paying for the convenience of having everything pre-configured. Also, while the interface is easy to use, it’s not as powerful as a full Linux server. You’re limited to the features that GL.iNet provides. If you want to do something more advanced, like setting up custom firewall rules or running other services, you’re out of luck. It is OpenWRT based, but I didn’t want to mess with the command line stuff.
The other downside is that you’re trusting GL.iNet to keep the software up to date. They have a good track record, but there’s always a risk that they could release a buggy update or stop supporting the device altogether. That’s the problem with buying pre-built solutions — you’re relying on someone else to maintain them. Also, I hate the tiny power adapter brick. It blocks two outlets on my power strip.
Option 2: DIY VPN with a Raspberry Pi
If you’re a bit more tech-savvy, you can set up a VPN server on a Raspberry Pi. This is the cheaper option, especially if you already have a Pi lying around. I had an old Raspberry Pi 4 Model B with 4GB of RAM that I wasn’t using. These things cost about $75 new (without the power supply and SD card), but you can often find them used for less. The Raspberry Pi Foundation actually recommends the newer Raspberry Pi 5 now, but I did not see a performance hit so that’s a waste. The main benefit is that the newer CPU will last you longer.
The big advantage of using a Raspberry Pi is flexibility. You have full control over the software and configuration. You can install any VPN server software you want, including OpenVPN, WireGuard, and PiVPN. You can also use the Pi for other tasks, like running a web server, a media server, or a network-wide ad blocker. It’s like having a tiny Linux server in your home.
I decided to use PiVPN, which is a script that simplifies the process of setting up a VPN server on a Raspberry Pi. It supports both OpenVPN and WireGuard. The installation process is pretty straightforward. You just download the script and run it. It asks you a few questions, like which VPN protocol you want to use and which DNS server you want to use. Then it configures everything for you automatically.
The downside is that it requires a bit more technical knowledge. You need to be comfortable with the command line and know how to configure port forwarding on your router. Also, you need to keep the software up to date yourself. If you don’t, you could be vulnerable to security exploits. You will also need to buy an SD card, the Pi itself, and a power cable. Make sure it’s a fast SD card.
Setup and Configuration
I installed Raspberry Pi OS (formerly Raspbian) on my Pi. I used the “Lite” version, which doesn’t have a graphical desktop. That saves resources and makes the Pi run faster. Then I enabled SSH so I could access it remotely from my laptop. After that, I downloaded the PiVPN script and ran it. The whole process took about 30 minutes, including installing the OS.
PiVPN configured everything automatically. It created the VPN server, set up the firewall, and generated client configuration files. All I had to do was copy the configuration files to my devices and import them into my VPN client. The script makes a QR code so you can import it on your phone.
One thing that tripped me up was the DNS server. PiVPN defaults to using Google’s DNS servers, which I don’t like. I prefer to use Cloudflare’s DNS servers, which are faster and more private. I had to manually edit the PiVPN configuration file to change the DNS server. Also, I had to set a static IP address for the Pi on my router so it would always get the same IP address. Otherwise, the port forwarding would stop working every time the Pi rebooted.
Performance
The performance of the Raspberry Pi VPN was surprisingly good. I was getting speeds similar to the GL.iNet Flint 2. Locally, I was seeing speeds of around 800 Mbps with WireGuard and 300 Mbps with OpenVPN. Over the internet, I was getting speeds of around 140 Mbps with WireGuard and 45 Mbps with OpenVPN. Again, WireGuard is the way to go for speed.
The Raspberry Pi 4 has a gigabit Ethernet port, so it can handle pretty high speeds. The bottleneck is usually the CPU. The Pi 4 has a quad-core ARM processor, which is powerful enough for most VPN tasks. The Raspberry Pi 5 is faster, but I didn’t see a huge difference in VPN performance.
I also tested the Raspberry Pi VPN with my Plex server and NAS. It worked just as well as the GL.iNet Flint 2. Streaming 1080p video was no problem. Accessing files on my NAS was a bit slower, but still usable.
Security Considerations
When you set up your own VPN server, you’re responsible for its security. You need to make sure the software is up to date and that the firewall is properly configured. You also need to choose a strong password and enable two-factor authentication. If you don’t, your VPN server could be vulnerable to attack. This applies to any remote server. That said, the risks of being hacked are generally low for home use.
I recommend using a tool like Fail2ban to protect your VPN server from brute-force attacks. Fail2ban monitors your logs for failed login attempts and automatically blocks IP addresses that are trying to guess your password. It’s easy to install and configure, and it can significantly improve your security. It’s also good to set up automatic security updates. I didn’t do this for the first few days, and when I checked the system after four days it had 85 updates waiting.
Head-to-Head Comparison
| Feature | GL.iNet Flint 2 (GL-MT6000) | Raspberry Pi 4 (with PiVPN) |
|---|---|---|
| Price | $139.99 (Amazon) | $75 (Pi) + $15 (SD Card) + $10 (Power Supply) = $100 |
| Setup Difficulty | Easy | Moderate |
| Performance (WireGuard) | Up to 850 Mbps (local), 150 Mbps (internet) | Up to 800 Mbps (local), 140 Mbps (internet) |
| Flexibility | Limited | High |
| Security | Good (relies on GL.iNet updates) | Excellent (but requires manual updates) |
| Ease of Use | Very easy web interface | Command line and configuration files |
| Power Consumption | About 8W | About 3W |
| Verdict | Best for beginners | Best for advanced users |
Alternatives to Consider
Besides the GL.iNet Flint 2 and the Raspberry Pi, there are a few other options for setting up a home VPN. One is to use a cloud-based VPN service like NordVPN or ExpressVPN. These services are easy to use and offer good performance, but you’re trusting a third party with your data. I don’t like that idea.
Another option is to use a more powerful router with built-in VPN server capabilities. Some routers from Asus and Netgear have this feature. These routers are more expensive than the GL.iNet Flint 2, but they offer better performance and more features. The ASUS RT-AX86U comes recommended. I haven’t tested those yet, so I can’t say for sure how well they work. But they might be worth considering if you need a high-performance VPN server.
A third option is to use a virtual machine on your computer to run a VPN server. This is similar to using a Raspberry Pi, but it requires more resources. You’ll need a computer that’s always on and has enough RAM and CPU power to handle the VPN server. I’m not covering that since it’s not as practical for most people.
Which One Should You Choose to Set Up Home VPN Remote Work?
If you just want a simple way to set up home vpn remote work and you don’t want to mess with command lines, the GL.iNet Flint 2 (GL-MT6000) is the way to go. It’s easy to set up, offers good performance, and has a user-friendly interface. The web interface is so much easier. My neighbor, who is an accountant, got it set up in about an hour.
If you’re more tech-savvy and want more control over your VPN server, the Raspberry Pi 4 is a great option. It’s cheaper, more flexible, and offers similar performance. But be prepared to spend some time configuring it and keeping it up to date. Plus, if you mess up the command line, you’ll have to deal with error messages. I hate error messages.
For me, the Raspberry Pi 4 was the better choice. I already had one lying around, and I enjoy tinkering with Linux. But if I didn’t have a Pi, I would probably just buy the GL.iNet Flint 2. It’s worth the extra money for the convenience.
No matter which option you choose, setting up a home VPN is a good way to protect your privacy and security when you’re working remotely. I wish I’d done it sooner. Now I don’t have to worry about using public Wi-Fi anymore.