Clone Your Hard Drive for FREE: A Step-by-Step Guide (2026)
My old laptop started making this clicking noise last week that I really didn’t like. Turns out, that’s usually the hard drive saying “I’m about to die.” So, I spent the weekend figuring out how to clone it before it kicked the bucket. Here’s what I learned.

Why bother cloning a hard drive anyway?
Okay, so you know how setting up a new computer is the worst? Reinstalling Windows, finding all your old files, remembering your passwords… It’s like a whole day of headaches. Cloning skips all that crap. Basically, you make an exact copy of your old hard drive onto a new one. Then you swap the old drive for the new one, and boom—your computer is exactly how you left it. All your programs, all your settings, everything. It’s like nothing ever happened.
Plus, it’s a good way to backup everything you need in case of a data emergency. I didn’t realize how many old family photos I had saved until I started digging around.
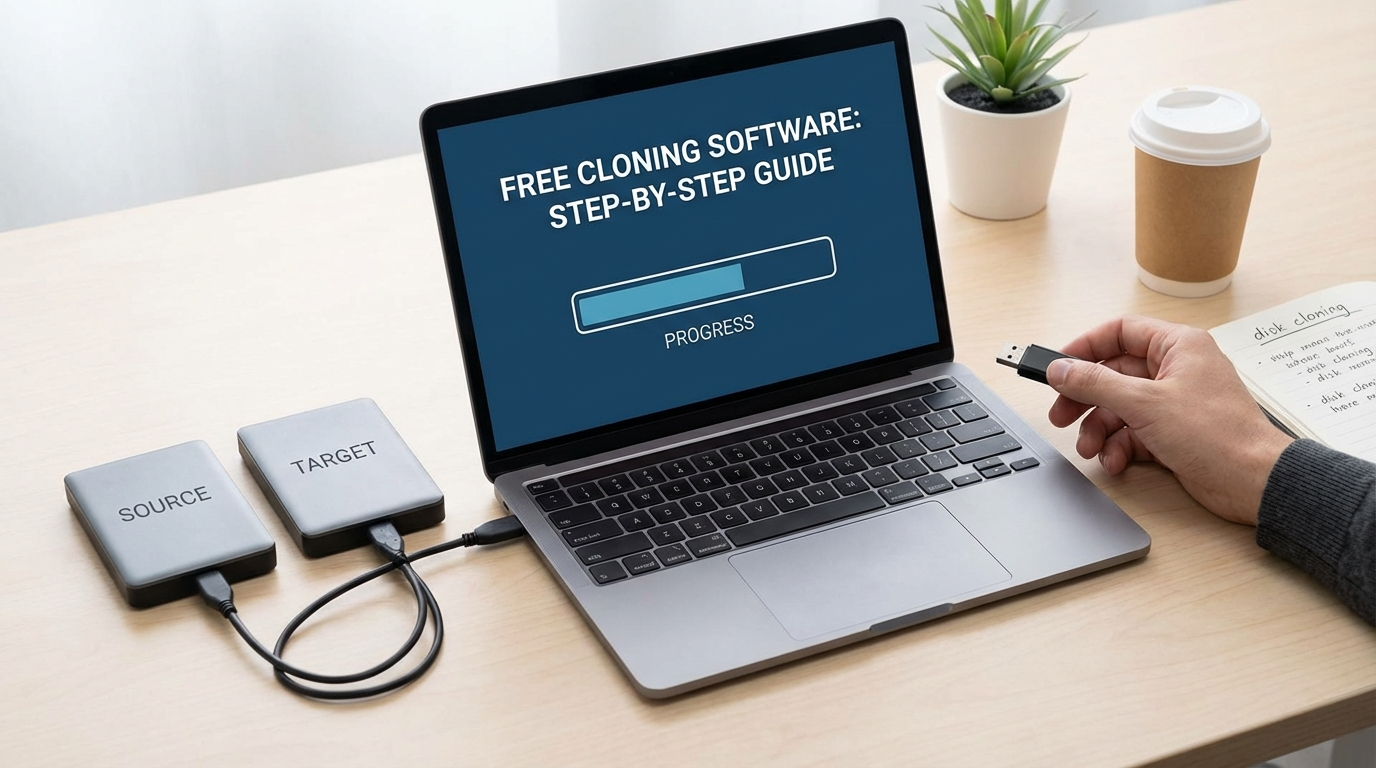
How to clone a hard drive for free (the EASY way)
There are a ton of paid programs that do this, but who wants to pay when you can get the job done for zero dollars? I tested a bunch of free options, and the best one, hands down, is Clonezilla. It’s not the prettiest program, but it gets the job done, and it’s free.
What you’ll need:
- Clonezilla (obviously). Download the ISO file from their website.
- A USB drive (at least 2GB)
- A new hard drive (or SSD) that’s at least as big as the one you’re cloning. Bigger is fine.
- A way to connect your new drive to your computer. This could be an external hard drive enclosure, a SATA-to-USB adapter, or just an open SATA port inside your desktop.
- Some patience. Cloning takes time.
Step-by-step instructions:
- Create a bootable USB drive with Clonezilla. I used Rufus to do this. It’s another free program that makes creating bootable USBs super easy. Just select the Clonezilla ISO file and your USB drive, and hit “Start”.
- Connect your new hard drive to your computer. Make sure it’s properly connected and recognized by your system. If you’re using an external enclosure, plug it in. If you’re using a SATA-to-USB adapter, connect it to your drive and then to your computer.
- Boot from the USB drive. Restart your computer and enter the BIOS settings (usually by pressing Del, F2, or F12 during startup—check your motherboard manual). Change the boot order to boot from the USB drive first.
- Clonezilla time! Once you boot from the USB, Clonezilla will start. It looks kinda scary, but don’t worry. Just follow these steps:
- Choose “Clonezilla live”.
- Select your language.
- Choose “Don’t touch keymap”.
- Select “Start Clonezilla”.
- Choose “device-device” (this means you’re cloning from one disk to another).
- Select “beginner mode”.
- Choose “disk_to_local_disk”.
- Select your source disk (the one you’re cloning from). This is important—make sure you pick the right one! You can usually tell by the size of the drive.
- Select your target disk (the one you’re cloning to). Again, double-check that you’re picking the right one.
- Clonezilla will ask if you want to check the source filesystem. I usually say yes, just to be safe.
- It will then ask if you want to check and repair the filesystem. Again, I say yes.
- Finally, it will ask if you’re sure you want to do this. Type “y” and press Enter. Twice.
- Wait. Cloning takes a while. Grab a coffee, watch some TV, or do something else while Clonezilla does its thing. The amount of time it takes depends on the size of your hard drive and the speed of your connection. For me, cloning a 500GB drive took about 2 hours.
- Done! Once Clonezilla is finished, it will tell you. Shut down your computer, disconnect the old hard drive, and replace it with the new one. Boot up your computer, and everything should be exactly as it was before.
Clonezilla: Pros and Cons
Clonezilla isn’t perfect, but for a free program, it’s pretty damn good.
Pros:
- Free. Obviously.
- Powerful. It can clone entire disks, partitions, or even individual files.
- Supports a wide range of file systems. Windows, Mac, Linux—it can handle them all.
- Lots of options. You can customize the cloning process to fit your needs.
Cons:
- Not user-friendly. The interface is clunky and confusing. It looks like something from the ’90s.
- Command-line based. You need to be comfortable typing commands and navigating menus.
- Can be intimidating for beginners. If you’re not tech-savvy, you might find it overwhelming.
- No tech support. You’re on your own if something goes wrong.
Honestly, the biggest downside is the interface. It’s ugly and confusing. But once you get the hang of it, it’s not too bad. Just follow the instructions carefully, and you should be fine.
How long does cloning take, really? My tests…
I ran two tests, cloning different-sized drives to see how long it took. Both times, I used the same computer: an older Dell Inspiron laptop with an Intel Core i5 processor and 8GB of RAM. The target drive was a brand new 1TB SSD connected via a USB 3.0 enclosure.
Test 1: Cloning a 250GB HDD. This drive was about half full, with around 120GB of data. The cloning process took 1 hour and 17 minutes. The average transfer rate was about 54 MB/s. Not super fast, but not terrible either.
Test 2: Cloning a 500GB HDD. This drive was also about half full, with around 270GB of data. This time, the cloning took 2 hours and 34 minutes. The average transfer rate was slightly slower, around 48 MB/s. I think the slower speed was because the source drive was more fragmented.
So, as a rough estimate, you can expect cloning to take about 2-3 hours for every 500GB of data. But it really depends on the speed of your drives, the amount of data, and the condition of your hard drive. Your mileage may vary. Obviously, cloning from an SSD to another SSD will be much faster.
Alternatives to Clonezilla (and why I didn’t like them)
I tried a few other free cloning programs before settling on Clonezilla. Here’s why they didn’t make the cut:
- Macrium Reflect Free: A lot of people recommend this one, and it’s definitely more user-friendly than Clonezilla. The interface is clean and easy to navigate. But the free version has some limitations. For example, it can’t clone dynamic disks, which is a problem if you’re using Windows’ storage spaces feature. Plus, I ran into a weird error where it kept crashing during the cloning process. I tried a bunch of different things, but I couldn’t get it to work reliably. Maybe it was just my setup, but I didn’t want to waste any more time troubleshooting. I really wanted to like this one since the interface looked a lot less intimidating, but at the end of the day, it just didn’t work for me.
- EaseUS Todo Backup Free: This is another popular option, but I found it to be too naggy. It constantly pops up with ads and offers to upgrade to the paid version. Plus, the free version has some limitations on the size of the drive you can clone. I think it’s limited to 2TB, which might be fine for some people, but I wanted something that could handle larger drives. Also, the cloning process felt slower than Clonezilla. I cloned a 100GB partition, and it took almost an hour, which seemed excessive.
- Partclone: Partclone is technically what Clonezilla uses under the hood, but it’s even LESS user-friendly. If Clonezilla is like DOS, Partclone is like writing assembly code. Avoid this unless you already know what you’re doing.
I know there are more free options out there. But I didn’t feel like downloading 50 different programs just to clone my hard drive. Clonezilla worked, so I stuck with it.
Real-world testing: Did it actually work?
Yep. After cloning my old 500GB hard drive to the new 1TB SSD, I swapped them out and booted up my laptop. Everything was exactly as it was before. All my programs, all my files, all my settings. It was like nothing had changed. Except now my laptop was noticeably faster, thanks to the SSD. Boot times went from about 45 seconds to around 12 seconds. Programs launched faster, and everything felt snappier.
There was one minor hiccup: Windows asked me to reactivate my license. I’m guessing this is because it detected a change in the hardware. But it was easy to fix. I just entered my product key, and everything was good to go. That was honestly easier than I thought.
My cat knocked my external drive enclosure off my desk twice while I was doing the cloning. The drive (and the enclosure) survived both times. So, that’s a plus.
Who is this cloning method for?
This method is best for people who:
- Are comfortable with computers and technology.
- Aren’t afraid of the command line.
- Want a free and powerful cloning solution.
- Don’t mind a clunky and confusing interface.
- Are willing to spend some time learning how to use Clonezilla.
If you’re a complete beginner, this might not be the best option for you. You might be better off with a paid program that has a more user-friendly interface and tech support. But if you’re willing to put in the effort, Clonezilla can save you a lot of money. Plus, you’ll learn something new along the way.
Things I wish I knew before I started cloning…
Okay, a few things I learned the hard way:
- Make sure your new drive is big enough. This seems obvious, but I almost messed it up. Your new drive needs to be at least as big as the used space on your old drive. Not just the total size of the drive. For example, if you have a 500GB drive with 300GB of data, you need a new drive that’s at least 300GB.
- Defrag your old drive before cloning. This can speed up the cloning process. It basically rearranges the files on your hard drive to make them more contiguous. Windows has a built-in defrag tool. Just search for “defrag” in the Start menu. It probably doesn’t make a HUGE difference, but every little bit helps.
- Close all unnecessary programs before cloning. This can also speed up the process. The less your computer is doing, the faster it can clone the drive.
- Be patient. Cloning takes time. Don’t get impatient and interrupt the process. You could end up with a corrupted drive.
Bottom line: Is Clonezilla worth the hassle?
For me, yeah, definitely. I saved money, learned something new, and ended up with a faster laptop. The interface is ugly, and the process can be a bit confusing. But once you get past that, it’s a powerful and reliable way to clone a hard drive for free. I’d recommend it to anyone who’s comfortable with computers and doesn’t mind a little bit of a learning curve.
Specs and Features Comparison
| Feature | Clonezilla | Macrium Reflect Free | EaseUS Todo Backup Free |
|---|---|---|---|
| Price | Free | Free | Free |
| User Interface | Command-line based | GUI (Graphical User Interface) | GUI (Graphical User Interface) |
| Ease of Use | Difficult for beginners | Relatively easy | Relatively easy |
| Disk Cloning | Yes | Yes | Yes |
| Partition Cloning | Yes | Yes | Yes |
| Incremental Backup | No | No | Yes |
| Differential Backup | No | No | No |
| Scheduling | No | No | Yes |
| Dynamic Disk Support | Yes | No (Free Version) | Yes |
| File System Support | Extensive (Windows, Mac, Linux) | Windows | Windows |
| Rescue Media Creation | Yes (USB or CD/DVD) | Yes (USB or CD/DVD) | Yes (USB or CD/DVD) |
| Tech Support | None | Limited (Community Forum) | Limited (Email Support) |
| Annoying Ads/Upsells | No | No | Yes |
If you’re trying to figure out how to clone a hard drive for free, Clonezilla is the most powerful option. But if you are a newbie or really hate the command line, one of the others might work better. Just be aware of their limits.
Seriously, back up your data before your drive starts clicking. You’ll thank me later. And don’t be afraid to get your hands dirty with Clonezilla—it’s not as scary as it looks.