Okay, so my desk used to look like mission control for a potato. One screen, a tangled mess of wires, and me squinting like an idiot. Then I finally figured out how to set up dual monitors and, yeah, it’s way better. Here’s how I did it on Windows 11 in 2026 without setting my apartment on fire.
First, the Obvious Stuff (You Might Still Mess Up)
Before you even think about software, make sure you have the right hardware. This isn’t rocket science, but it’s easy to overlook something dumb. Like, you need two monitors. I know, groundbreaking stuff. I use a Dell Ultrasharp U2722D as my main monitor because it’s got good color accuracy for the thumbnails I make, and I paired it with an older Acer monitor I snagged for $80 on clearance. It’s not fancy, but it works. More on that later.
You also need a graphics card that can handle two displays. Most modern cards can, but if you’re rocking something ancient, check the specs. Look for the number of display outputs – HDMI, DisplayPort, DVI, etc. – and make sure you have enough for both monitors. If you’re using a laptop, check the ports available. Most laptops have at least one HDMI port, and some have USB-C ports that can output video with an adapter.
Speaking of adapters, you might need one. My Acer monitor only has a VGA port (yeah, I know, dinosaur tech), so I had to buy a cheap HDMI-to-VGA adapter. Got it on Amazon for like $12.99. Pro tip: Don’t cheap out too much on adapters. I bought a super-cheap one once that gave me a flickering image and made my eyes want to commit seppuku. Spend the extra few bucks for something decent.
Cables are the last piece of the puzzle. Make sure you have the right cables to connect your monitors to your graphics card or laptop. HDMI cables are pretty standard, but DisplayPort is becoming more common, especially for higher refresh rates. Don’t reuse old cables from, like, your DVD player from 2005. They might not support the bandwidth you need for your monitors’ resolution and refresh rate. Learned that the hard way. Spent an hour troubleshooting a blurry image only to realize the cable was the problem.

Software Setup: Windows 11 to the Rescue (Mostly)
Okay, hardware’s connected. Now comes the fun part: wrestling with Windows. Usually, when you plug in a second monitor, Windows 11 detects it automatically. But sometimes it doesn’t. Here’s what to do if Windows is being stubborn:
- Right-click on your desktop and select “Display settings.”
- Scroll down to the “Multiple displays” section.
- If Windows isn’t detecting your second monitor, click the “Detect” button.
- If that doesn’t work, try restarting your computer. Yeah, I know, it’s the oldest trick in the book, but it often works.
Once Windows detects both monitors, you’ll need to configure them. In the “Multiple displays” section, you have a few options:
- Duplicate these displays: This mirrors your main monitor on the second monitor. Useful for presentations, but not much else.
- Extend these displays: This treats both monitors as one giant desktop. This is what you want for most productivity tasks.
- Show only on 1: Disables the second monitor and only shows the display on your primary monitor.
- Show only on 2: Disables the primary monitor and only shows the display on your second monitor.
Choose “Extend these displays.” Then, you can drag the monitor icons around to arrange them in the order that matches your physical setup. I have my Dell Ultrasharp on the left and the Acer on the right, so I dragged the Dell icon to the left of the Acer icon in the Display settings. This makes moving the mouse between screens feel natural.
You can also choose which monitor to make your main display. The main display is where your taskbar, start menu, and notifications appear. I prefer to have my main display on my Dell Ultrasharp because it has better color accuracy, which matters when I’m editing photos for my blog.
One annoyance I ran into was that the scaling was off on my Acer monitor. Everything looked too big and blurry. To fix this, I had to adjust the scaling settings in the Display settings. I set the scaling to 100% for the Acer monitor and 125% for the Dell Ultrasharp. This made everything look sharp and the right size on both screens.
Dual Monitor Tools: Fancy vs. Free
Windows 11’s built-in dual monitor support is okay, but it’s pretty basic. If you want more control over your dual monitor setup, you can use a third-party tool. I tested a few different options, and here’s what I found:
DisplayFusion vs. Dual Monitor Tools vs. Actual Multiple Monitors
There are a few popular options, but these are the ones I actually spent time with.
| Feature | DisplayFusion (Pro) | Dual Monitor Tools (Free) | Actual Multiple Monitors (Paid) |
|---|---|---|---|
| Price | $29 (one-time) | Free | $24.95 (one-time) |
| Monitor Splitting | Yes | No | Yes |
| Taskbar on Each Monitor | Yes | Yes (basic) | Yes |
| Window Management | Advanced | Basic | Advanced |
| Hotkeys | Highly Customizable | Customizable | Highly Customizable |
| Wallpaper Management | Advanced | Basic | Advanced |
| Ease of Use | Moderate | Easy | Moderate |
| My Verdict | Powerful, but overkill for simple setups. | Good for basic dual monitor features. | Good middle ground for powerful features and cost |
DisplayFusion (Pro)
DisplayFusion is like the Swiss Army knife of dual monitor tools. It has a ton of features, including:
- Taskbars on each monitor
- Monitor splitting (divide a single monitor into multiple virtual monitors)
- Window management (move windows between monitors, maximize windows to a single monitor, etc.)
- Hotkeys (customize hotkeys for just about anything)
- Wallpaper management (use different wallpapers on each monitor, span a single wallpaper across multiple monitors, etc.)
I tested DisplayFusion for about two weeks. The taskbars on each monitor were definitely useful. It was nice to have quick access to my apps on both screens. The window management features were also helpful. I could easily move windows between monitors with a hotkey, which saved me a lot of time.
The monitor splitting feature was interesting, but I didn’t find myself using it much. I can see how it would be useful for people with ultra-wide monitors, but for my setup, it felt a bit unnecessary. I was using the free trial of the Pro version, and it kept nagging me to buy the full version. That got old fast. Like, every time I clicked on a setting, a popup would appear. Super annoying.
DisplayFusion is powerful, but it’s also a bit overwhelming. There are so many features and settings that it can be hard to know where to start. If you’re just looking for basic dual monitor features, DisplayFusion might be overkill. The $29 price tag also feels a bit steep, especially when there are free alternatives available.
Dual Monitor Tools (Free)
Dual Monitor Tools is a free and open-source dual monitor tool that provides basic dual monitor features. It doesn’t have as many features as DisplayFusion, but it’s much simpler to use.
Dual Monitor Tools offers core features like:
- Basic taskbar functionality on secondary monitors
- Mouse cursor control, preventing it from easily drifting between screens
- Window management via hotkeys
I used Dual Monitor Tools for about a week. Setting up dual monitors was a pretty straightforward experience. While the taskbar functionality is very basic, it still manages to add a level of screen awareness that Windows alone lacks. I was impressed by the robust set of mouse controls, making it easy to snap the cursor to different screens or prevent it from leaving one altogether.
The biggest downside of Dual Monitor Tools is its lack of advanced features. If you want monitor splitting, advanced window management, or wallpaper management, you’ll need to look elsewhere. But if you just want basic dual monitor features without spending any money, Dual Monitor Tools is a solid choice.
Actual Multiple Monitors (Paid)
Actual Multiple Monitors aims to strike a balance between the feature-richness of DisplayFusion and the simplicity of Dual Monitor Tools, while also remaining affordable.
Actual Multiple Monitors comes with features such as:
- Full taskbar functionality on secondary monitors
- Individual monitor management
- Window snapping and tiling
- Customizable hotkeys
During my time with Actual Multiple Monitors, I found it to be surprisingly effective at enhancing productivity without overwhelming the user. The taskbar functionality was on par with DisplayFusion, but with a slightly more intuitive interface. I found the window snapping and tiling options particularly useful, allowing me to quickly organize my workspace across both monitors.
While it doesn’t offer as many niche features as DisplayFusion, Actual Multiple Monitors provides a robust set of tools for managing dual monitors at a reasonable price. It proved itself a worthwhile investment for users seeking enhanced functionality without the complexity of more advanced software.
Picking a Winner: It Depends (But I Have a Favorite)
So, which dual monitor tool is the best? It depends on your needs and budget.
- For basic dual monitor features: Dual Monitor Tools is a great free option.
- For advanced features and customization: Actual Multiple Monitors offers a good balance of features and cost.
- If you want ALL the features: DisplayFusion is the way to go, but be prepared to pay for it and spend some time learning how to use it.
For me personally, Actual Multiple Monitors hit the sweet spot. It gave me the features I needed without overwhelming me with options I didn’t need. The taskbars on each monitor and the window management features were a huge time saver. Plus, it didn’t cost a fortune.
One Weird Trick to Maximize Your Screen Real Estate (Okay, Not That Weird)
Even with two monitors, you can still run out of screen space. Especially if you’re like me and have a million browser tabs open at once. Here’s a trick I use to maximize my screen real estate:
Use virtual desktops. Windows 11 has built-in support for virtual desktops. You can create multiple virtual desktops and switch between them with a keyboard shortcut (Windows key + Ctrl + Left/Right arrow). I use virtual desktops to organize my work. I have one desktop for writing blog posts, one desktop for editing photos, and one desktop for browsing the web (aka procrastinating).
Virtual desktops are like having multiple monitors without actually having multiple monitors. They’re a great way to keep your workspace organized and prevent your brain from exploding.
The Monitor Stand Rabbit Hole (Proceed With Caution)
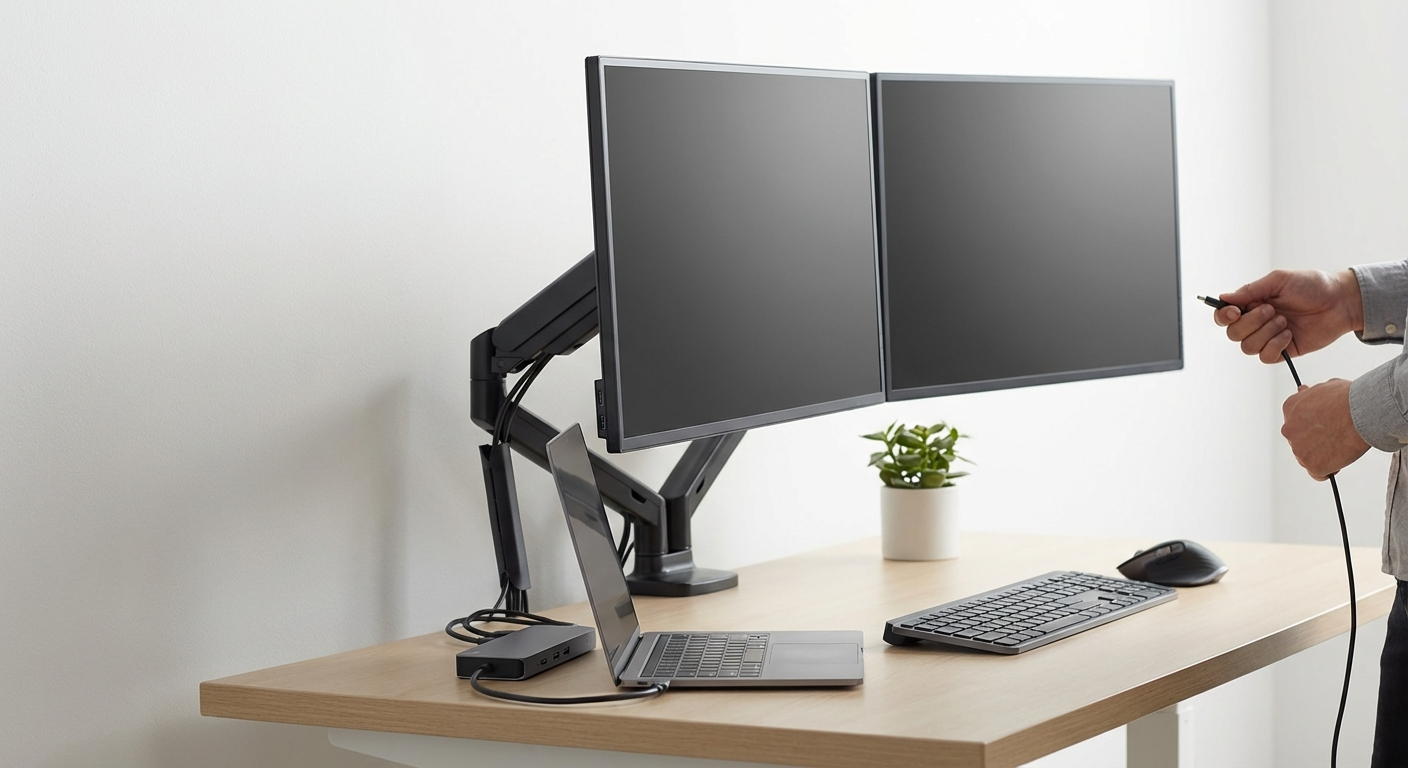
Okay, this is a bit of a digression, but it’s important. Once you have your dual monitor setup working, you might want to consider a monitor stand. The stands that come with most monitors are usually pretty terrible. They’re wobbly, they don’t offer much adjustment, and they take up a lot of desk space.
A good monitor stand can make a huge difference. It can raise your monitors to a more ergonomic height, free up desk space, and make your setup look more professional. I bought a dual monitor stand from Amazon for about $50, and it was one of the best investments I’ve made for my workspace. My neck doesn’t hurt as much, and my desk looks way less cluttered.
Be warned, though: researching monitor stands can be a rabbit hole. There are so many different options, and it’s easy to get overwhelmed. You’ll find yourself comparing VESA mounts, gas springs, and weight capacities. Just remember to keep it simple and focus on what you need. Do you need height adjustment? Tilt? Swivel? Rotation? Once you know what you need, it’s easier to narrow down your options.
So You Want a Third Monitor? (Maybe Not)
After setting up dual monitors, some people get greedy and want a third monitor. I’ve even seen people with four or five monitors. I’m not judging, but I think two monitors is the sweet spot. Three monitors can be overkill, especially if you don’t have a lot of desk space or a powerful graphics card.
That said, if you really want a third monitor, the setup process is similar to setting up dual monitors. You’ll need a graphics card with enough display outputs, the right cables, and maybe another adapter. You’ll also need to configure Windows to extend your display across all three monitors.
One thing to keep in mind is that using three or more monitors can put a strain on your graphics card. If you’re playing games or doing other graphics-intensive tasks, you might experience performance issues. Just something to consider.
Final Thoughts: Dual Monitors are Worth It (But Don’t Go Broke)
Figuring out how to set up dual monitors was one of the best things I’ve done for my productivity. It’s so much easier to multitask when you have two screens to work with. I can have my code editor open on one screen and my browser open on the other screen. Or I can have my writing app open on one screen and my research materials open on the other screen. The possibilities are endless. Except for the desk space. That is limited.
But the most important thing is to not overthink it. Buy the hardware you need, download the software that works for you, and start experimenting. You might be surprised at how much more productive you can be with dual monitors. Also, don’t spend $1000 on monitors. That’s dumb. Use your old monitor, find a cheap one, or browse the secondhand market. This is Budget TechBot, after all. I’m not made of money.