How to Clone a Hard Drive to a Smaller SSD Free (2026 Guide)
My laptop was getting slow. Like, watching-paint-dry slow. I figured it was time to ditch the old hard drive for an SSD. Problem: the SSD I bought was way smaller. I had to figure out how to clone a hard drive to a smaller ssd free without paying for some fancy software.
Turns out, it’s doable. Here’s how I did it.

What you’ll need
- Your new SSD: Obviously. I got a 500GB Samsung 870 EVO. It was $41.99 during a sale.
- A USB SATA adapter: To connect the SSD to your laptop or PC. I have this generic one I got off Amazon for like 10 bucks. Anything works.
- A computer running Windows 10 or 11: This guide is for Windows. Sorry, Mac users.
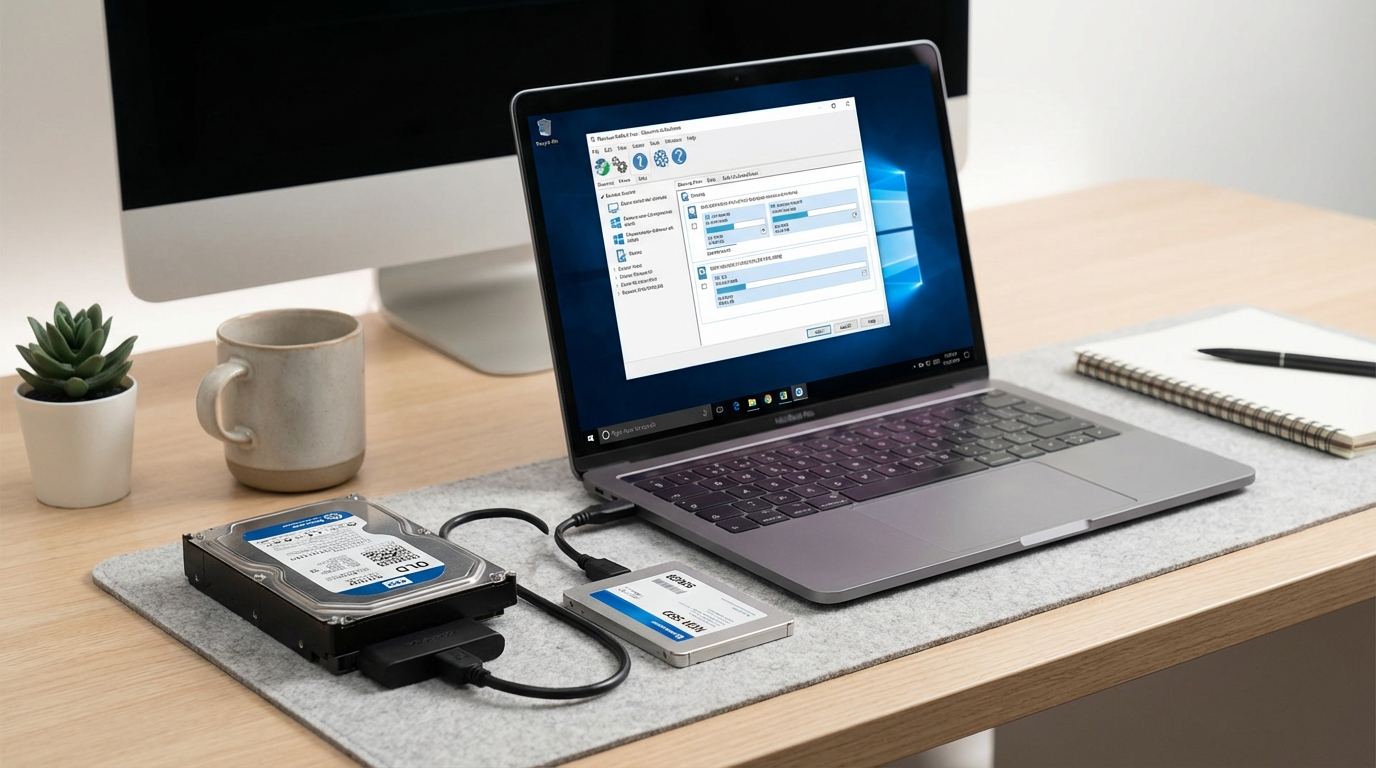
- A free cloning tool: We’re going with Macrium Reflect Free. I’ve used it before and it’s pretty straightforward.
- Patience: Seriously. It can take a while.
Estimated time: 2-6 hours, depending on the size of your hard drive and the speed of your computer.
The Cloning Process: Step by Step
Step 1: Back up your data (just in case!)
Yeah, yeah, I know. Everyone says this. But seriously, back up your data. Cloning is usually safe, but things can go wrong. Imagine losing all your family photos because you skipped this step. Don’t be that guy.
I use an external hard drive to back up my important files. It takes about 2 hours for my whole 1TB drive. Cloud backups are fine too, but they take longer in my experience, my internet is kinda spotty.
Step 2: Download and install Macrium Reflect Free
Head over to the Macrium Reflect website and download the free version. It’s a hefty download—around 420MB—so grab a coffee while it downloads.
Installation is pretty standard. Just follow the prompts. Make sure you select the “Free” version during installation. They try to upsell you to the paid version, but you don’t need it for this.
Step 3: Connect your SSD to your computer
Plug the SATA adapter into your computer’s USB port. Then, connect the SSD to the adapter. Windows should recognize the SSD automatically. If it doesn’t, check the adapter’s instructions or try a different USB port.
Potential issue: Sometimes Windows doesn’t assign a drive letter to the new SSD. If that happens, go to Disk Management (search for it in the Start Menu), find the SSD, right-click on it, and select “Change Drive Letter and Paths.” Assign it a letter (like E: or F:). This happened to me and I was stuck for like 30 minutes trying to figure it out, it was so annoying!
Step 4: Launch Macrium Reflect and select your source disk
Open Macrium Reflect. It’ll scan your system and display all your connected drives. Your old hard drive should be listed as the “Source” disk. Make sure you select the right one! You don’t want to accidentally clone the wrong drive.
You’ll see a bunch of partitions on your hard drive. Don’t worry about what they are. Macrium Reflect will clone them all.
Step 5: Select your destination disk (your SSD)
Click on “Clone this disk…” under your source disk. A new window will pop up. Select your SSD as the “Destination” disk. This is the part where you REALLY want to make sure you’ve selected the right drive. Cloning to the wrong drive will wipe everything on it.
Important: Macrium Reflect will warn you that the destination disk will be overwritten. That’s exactly what we want, so click “Next.”
Step 6: Shrink Partitions to Fit the Smaller SSD
This is the tricky part. Since your SSD is smaller than your hard drive, you need to make sure all the data will fit. Macrium Reflect usually handles this automatically, but it’s good to double-check. You may need to shrink partitions so they will fit.
Drag the partition boundaries on the destination disk to resize them. You want to make sure there’s enough free space on the SSD to accommodate all the data from the source disk. Don’t worry about leaving a little bit of unallocated space at the end. It’s ok.
Common issues:
- Not enough space: If the total size of your partitions is larger than the capacity of your SSD, you’ll need to reduce the size of one or more partitions. The easiest way to do this is to shrink your main data partition (usually the C: drive).
To shrink it, right-click on the partition in Macrium Reflect and select “Partition Properties.” Adjust the “Partition Size” to a smaller value. Make sure you leave enough free space on the C: drive for Windows and your applications to run smoothly. I’d recommend at least 50GB. - Unmovable files: Sometimes, Windows won’t let you shrink a partition because there are unmovable files at the end of the partition. This is rare, but if it happens, you can try running Disk Defragmenter (search for it in the Start Menu) to move the files. Or disable hibernation and the page file, those are usually the culprits.
Step 7: Start the cloning process
Once you’re happy with the partition sizes, click “Next.” Macrium Reflect will show you a summary of the cloning operation. Double-check everything to make sure it’s correct. Then, click “Finish” to start the cloning process.
It’ll take a while. Like, a long while. Go grab lunch, watch a movie, whatever. The time it takes depends on the size of your hard drive and the speed of your computer. My 500GB drive took about 3 hours to clone.
Don’t interrupt the cloning process! If you do, you could end up with a corrupted drive. Just let it run until it’s finished.
Step 8: Shut down your computer and replace the hard drive with the SSD
Once the cloning is complete, Macrium Reflect will prompt you to shut down your computer. Do it.
Now, it’s time to physically replace the hard drive with the SSD. This process varies depending on your laptop or desktop. Consult your computer’s manual or search online for instructions.
I’m not going to walk you through this step-by-step because every computer is different. But here are a few tips:
- Be careful! You’re dealing with sensitive electronic components. Ground yourself to avoid static electricity.
- Take pictures! Before you start disconnecting cables, take pictures of everything. This will help you remember how to put it back together.
- Don’t force anything! If something doesn’t seem to fit, don’t force it. You could break something.
Step 9: Boot from the SSD
After you’ve installed the SSD, turn on your computer. It should boot from the SSD automatically. If it doesn’t, you may need to change the boot order in your BIOS settings.
To access the BIOS settings, usually, you need to press a key like Delete, F2, or F12 during startup. The exact key varies depending on your computer’s manufacturer. Check your computer’s manual or search online for instructions.
Once you’re in the BIOS settings, look for the “Boot Order” or “Boot Priority” option. Change the boot order so that the SSD is the first device in the list. Save the changes and exit the BIOS. Your computer should now boot from the SSD.
Step 10: Enjoy your faster computer!
That’s it! You’ve successfully cloned your hard drive to a smaller SSD. Your computer should now boot up much faster and run more smoothly. I had a huge improvement and my computer felt brand new again after doing this.
What could go wrong and how to fix it
| Problem | Possible Solution |
|---|---|
| Computer won’t boot after cloning. | Make sure the SSD is properly connected. Check the boot order in your BIOS settings. Sometimes, Macrium Reflect doesn’t properly configure the boot sector. You might need to use the “Fix Windows boot problems” option in Macrium Reflect’s rescue media. |
| Cloning process fails. | Make sure your SSD has enough free space. Check for bad sectors on your hard drive. Try running CHKDSK /f on your hard drive before cloning. |
| SSD not recognized by Windows. | Check the SATA adapter. Try a different USB port. Assign a drive letter to the SSD in Disk Management. |
| Slow performance after cloning. | Make sure your SSD is running in AHCI mode. Check for driver updates. |
Alternative cloning tools
Macrium Reflect is my go-to, but there are other free cloning tools out there. Here’s a quick comparison:
| Tool | Pros | Cons |
|---|---|---|
| Macrium Reflect Free | Easy to use, reliable, supports differential and incremental backups. | Interface can be a little confusing, the free version lacks some advanced features. |
| Clonezilla | Open source, supports a wide range of file systems. | Command-line interface can be intimidating for beginners. It has an old style user interface, you will have to spend some time just to be able to use it, if you never used it before. |
| EaseUS Todo Backup Free | User-friendly interface, supports system backup and recovery. | The free version has limited features, pushy about upselling. |
SSD Considerations: Is Smaller Always Okay?
Cloning to a smaller SSD definitely works, but there are some tradeoffs to consider. You need to be honest about how much storage you actually use. If you’re constantly running out of space, a smaller SSD might not be the best solution. I did it because I only really used about 300GB on my old 1TB drive, so 500GB was plenty for me.
Think about these factors:
- Operating System Size: Windows itself takes up a chunk of space. Figure at least 30GB-40GB.
- Applications: Games, video editing software, and other large programs can eat up a lot of space.
- Personal Files: Documents, photos, videos, music – it all adds up.
- Future Growth: Plan for the future. Will you be installing more programs or storing more files in the next year or two?
If you’re close to maxing out your storage now, consider a larger SSD. The price difference between a 500GB and a 1TB SSD isn’t that huge these days.
This cloning process is better than a fresh install
You might be thinking, “Why not just do a fresh install of Windows on the SSD?” It’s a valid question.
Here’s why I prefer cloning:
- It’s faster: Cloning is generally faster than reinstalling Windows and all your applications.
- It preserves your settings: Cloning keeps all your settings, preferences, and customizations. You don’t have to spend hours reconfiguring everything.
- It’s less work: Reinstalling Windows is a pain. You have to find your product keys, download drivers, and reinstall all your applications. Cloning is much simpler.
A fresh install can be good if your system is riddled with issues and you want a completely clean start. But if you just want to speed up your computer without the hassle, cloning is the better option.
Final thoughts: How to clone a hard drive to a smaller ssd free
Learning how to clone a hard drive to a smaller ssd free sounds intimidating, but it’s not as hard as it looks. The hardest part for me was figuring out how to shrink the partitions. Don’t be afraid to Google around if you get stuck. And for real: back up your data first.
Upgrading to an SSD is one of the best things you can do to speed up an old computer. It’s worth the effort.
Good luck!